Beginner's Guide to Diamond Painting: Tips and Tricks
Diamond painting, a mesmerizing blend of cross-stitch and paint-by-numbers, has emerged as a beloved hobby for crafters worldwide. This guide dives into the essentials of diamond painting, offering practical tips and tricks to help beginners navigate their first project with confidence and ease. From selecting the right kit to applying the finishing touches, here's everything you need to start your journey into the sparkling world of diamond painting.
Choosing Your First Kit
Start Small: For your initial project, select a smaller canvas (about 20x20cm to 30x30cm). It's less daunting and gives you a feel for the process without overwhelming you.
Design Matters: Pick a design that speaks to you. Simpler designs with larger areas of the same color are easier to manage and can help you get used to the technique.
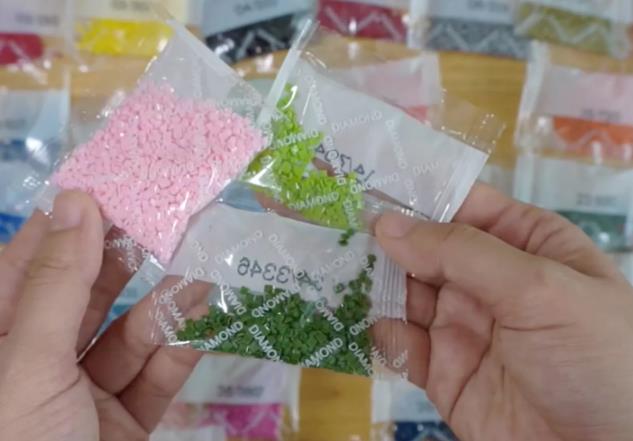
Kit Contents: Ensure your kit includes a canvas, resin diamonds (also known as drills), a tray, a pen-like tool, and wax or gel. These are the essentials for any diamond painting project.
Prepping Your Workspace
Lighting: Good lighting is crucial. Bright, natural light is best, but a strong desk lamp can also do wonders, especially for evening crafting sessions.
Organization: Keep your drills organized by color in small containers or the tray provided. This saves time and reduces the risk of losing them.
Understanding the Canvas
Your canvas is the roadmap to your masterpiece. It's printed with symbols corresponding to drill colors, covered with a protective film to keep the adhesive fresh. Familiarize yourself with the symbols before starting and plan your approach.
Applying the Diamonds
One at a Time: Initially, place one diamond at a time. This helps you get a feel for the right amount of pressure to use and ensures accuracy.
Checkerboard Technique: For larger areas of the same color, use a checkerboard pattern. Place every other diamond, then go back and fill in the gaps. This keeps things even and prevents the canvas from warping.
Straight Lines: Use a ruler or the edge of your tray to create straight lines of drills. This is particularly helpful for edges and borders.
Seal the Deal
Once your masterpiece is complete, sealing it with a clear sealant (specifically designed for diamond painting) ensures the drills stay in place and adds an extra layer of protection.
Framing Your Art
A frame not only adds a finishing touch but also helps preserve your work. You don’t need anything fancy; a simple frame that complements your piece will do. Remember to choose a frame size that fits your canvas, leaving a little space if you wish to add a mat.
Enjoy the Process
Remember, diamond painting is not just about the final product; it's about the joy of creating. Take your time, enjoy the process, and don’t hesitate to experiment with different techniques as you become more comfortable.
Discover More with Diamond Painting
Diving into the world of diamond painting opens up a spectrum of creative possibilities. Whether you're looking to unwind after a long day, searching for a new hobby, or hoping to create stunning artwork for your home, diamond painting offers something for everyone. With these tips and tricks in hand, you're well on your way to mastering the art of diamond painting, one shimmering diamond at a time.